Start you own blog/site with Podlite for Web
Recently I released the tool Podlite for Web which helps to create websites and blogs using the markup language Podlite. It replaces my previous engine based on gatsby.
I want to give you little tips to help you create your own website/blog.
Installation
For startup you need yarn should be installed. Podlite-web is also available as Docker image.
It is recommended to install Yarn through the npm package manager, which comes bundled with Node.js when you install it on your system
Once you have npm installed you can run the following both to install and upgrade Yarn:
npm install --global yarn
Then you checkout the repo and start the development server:
git clone [email protected]:podlite/podlite-web.git
cd podlite-web
yarn && yarn dev
And after open URL: http://localhost:3000/

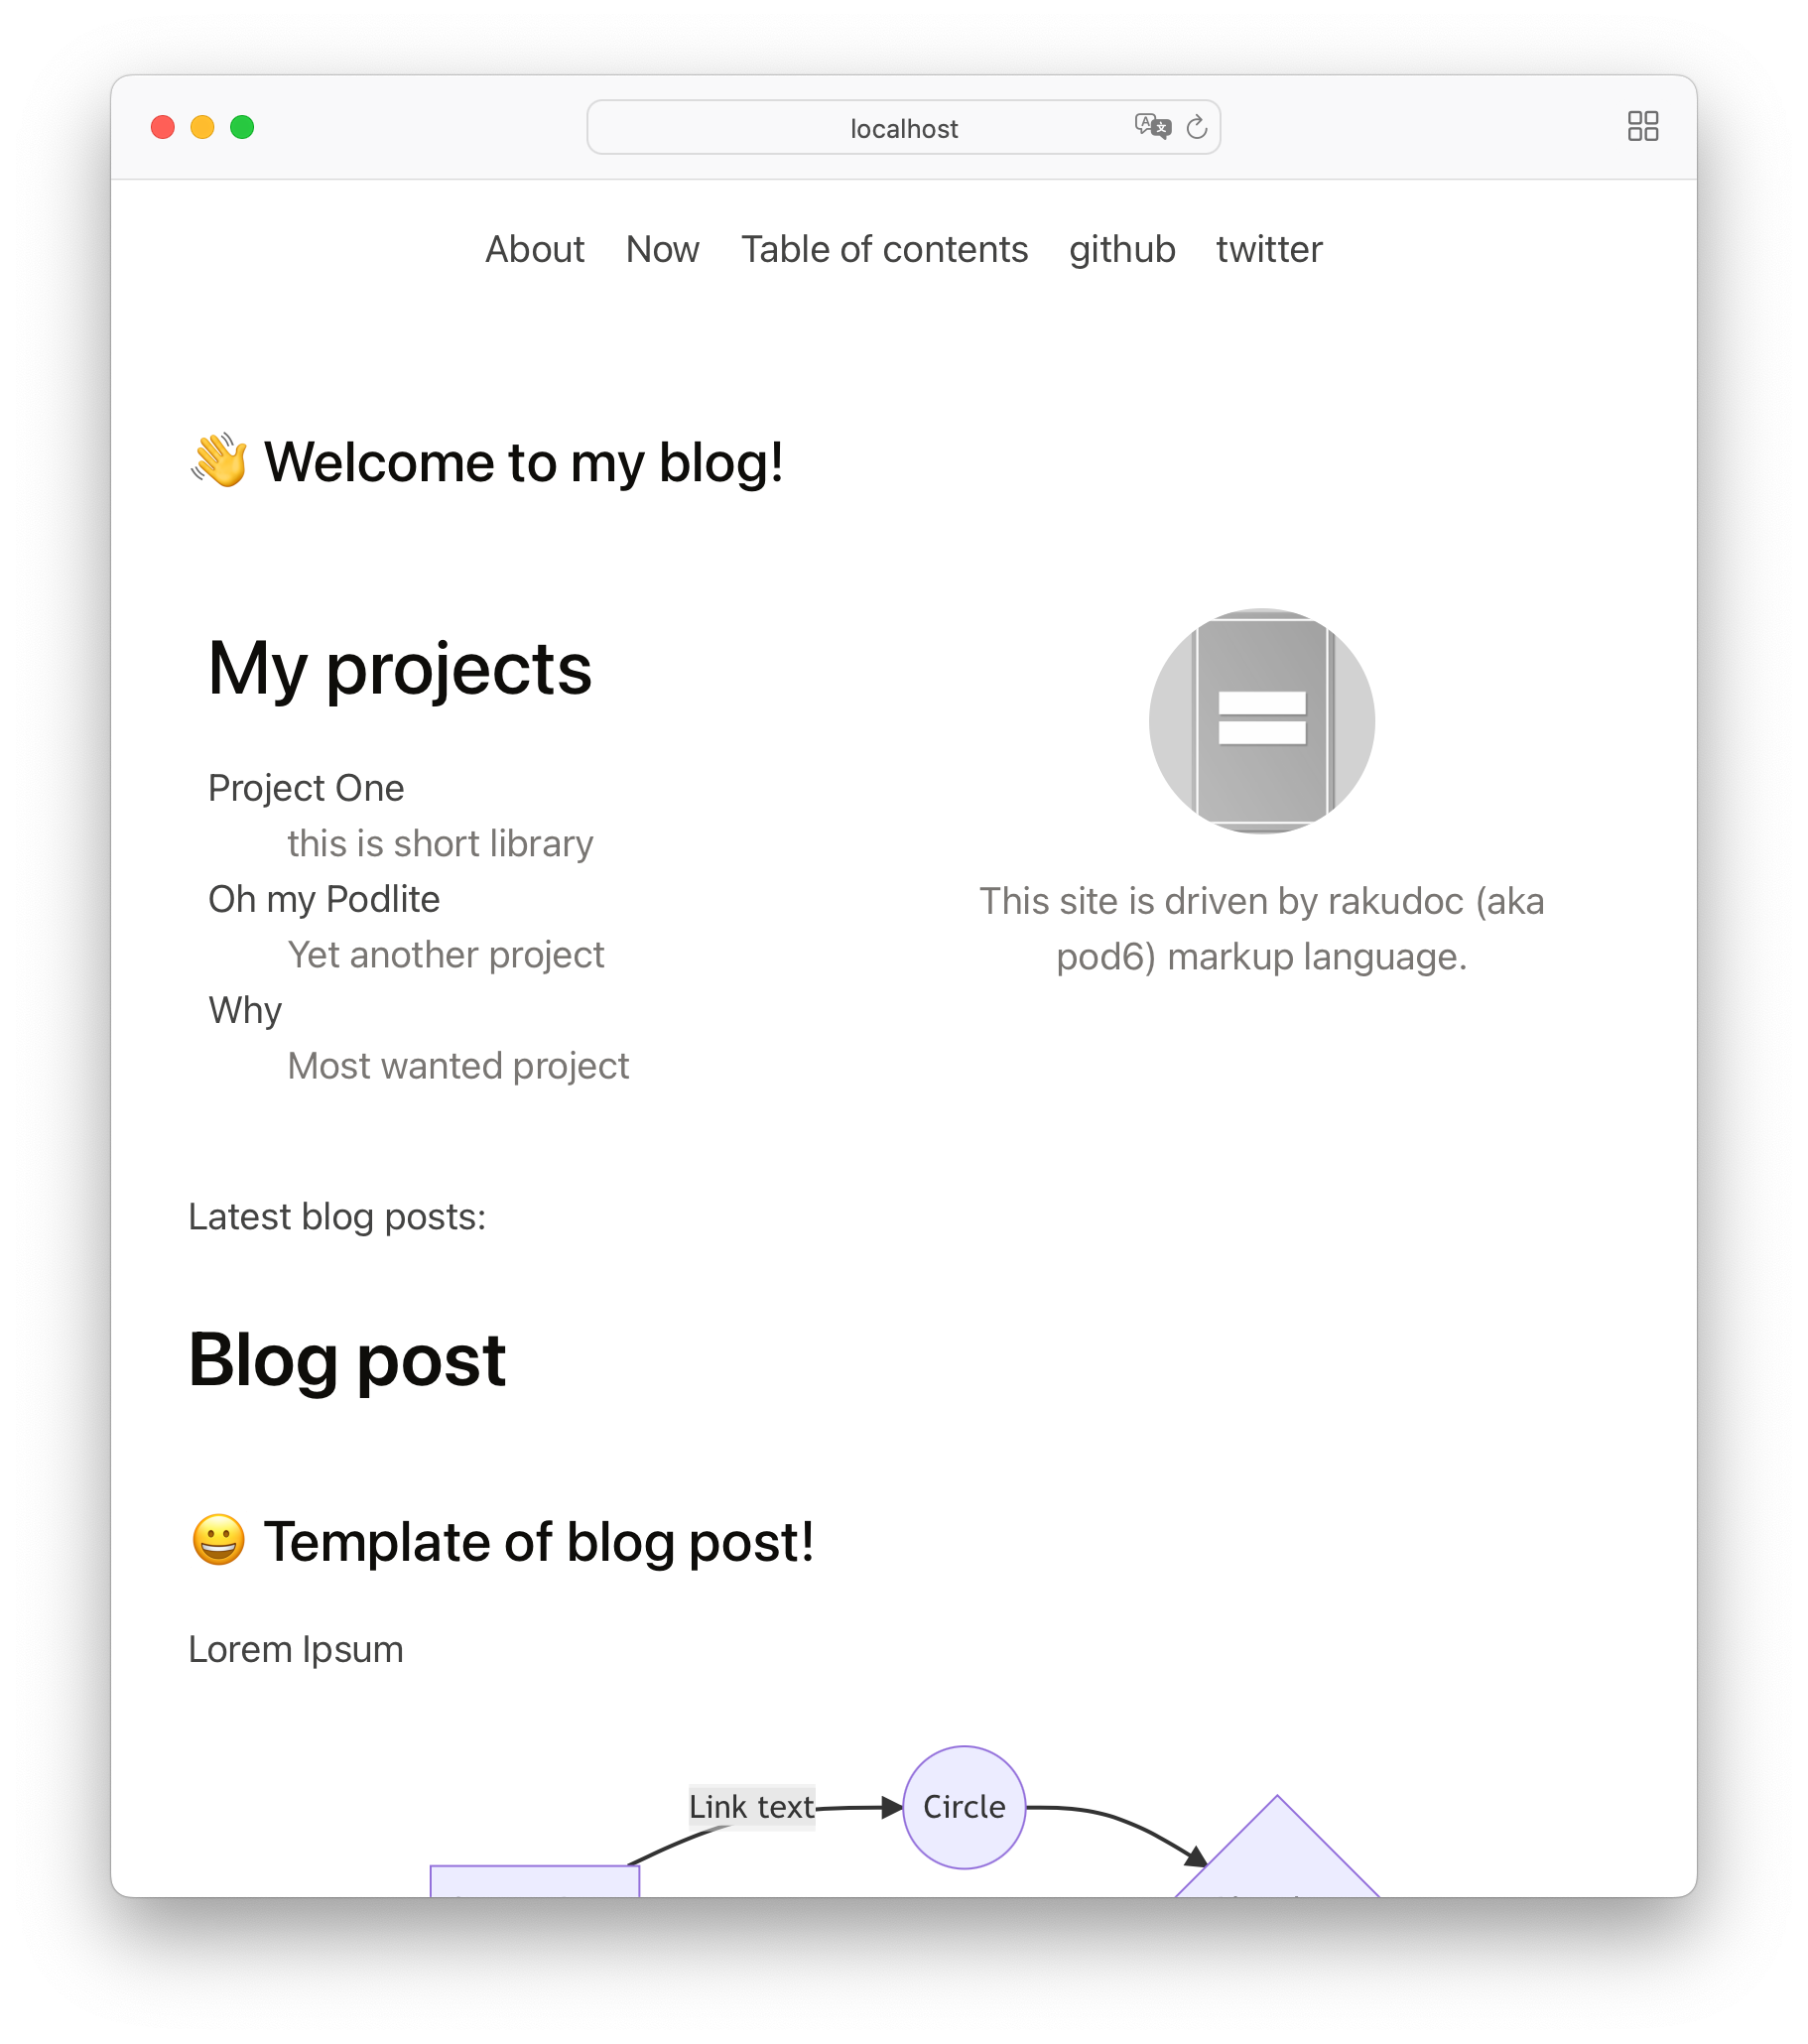
Default welcome page
This is the default page. The sources of this page are available in the pub directory. You can edit the file pub/index.pod6 and see the changes.
Blog example
You can also explore the examples directory and check use cases.
The most useful example is examples/03-blog.
Run blog example
To play with it, add the variable POSTS_PATH:
POSTS_PATH='examples/03-blog' yarn dev
or using docker:
cd examples/03-blog
docker run -it --rm -v ${PWD}:/app/pub -p 3000:3000 podlite/podlite-web dev
And then open the URL: http://localhost:3000/
Files structure
Let's look at this in detail.
examples/03-blog contains the following files:
├── about.pod6     # static /about page
├── blog-post.pod6 # example of a blog post
├── content.pod6   # /contents page with TOC for blog at all
├── index.pod6     # this is an index file of the website
├── journal.pod6   # file with selectively published notes
├── logo.png       # image used for :favicon and in =Image block
├── now.pod6       # static /now page
└── styles.css     # css for custom styles
Index page
The file index.pod6 is the same as the file index.html for a normal website. This is the root file for the website and also the configuration for the website in general.
Let's see the =pod section from the example for this:
=begin pod
= :favicon<./logo.png>
= :puburl<http://example.com>
= :globalStyles("./styles.css")

=TITLE Podlite-web Starter Blog

...
=end pod
The following configuration options for the =pod block are used :
| name | default value | description |
|---|---|---|
| :favicon | ../src/favicon.png | favicon for the website, used only in index.pod6. The value is the relative path to the image. |
| :puburl | none | url for this file. For 'index.pod6' is the address of the public website. Can be overridden by the SITE_URL environment variable. |
| :globalStyles | @Styles/default | custom CSS styles for the website, used only in index.pod6. |
The semantic block '=TITLE' in index.pod6 is used as the title of the site.
Create static pages
Each static page has a fixed URL. This is possible with the :puburl attribute for the =pod block. For example, let's look at about.pod6:
=begin pod :pubdate('2022-08-08 23:00:00') :puburl</about>
=TITLE About page
=end pod
with pubdate - is needed to indicate that this page is publicly available from a certain date. Pages without pubdate will be skipped when published.
Blog posts
Pages without puburl are treated as blog posts and the URL is generated based on the publication date.
For example:
=begin pod :pubdate('2012-08-08 23:00:00')
=TITLE Blog post
=end pod
will be available at url /2022/8/6/1/blog-post.
The =TITLE block is used for the public URL and as the page title.
Publish notes
It is also possible to create a blog note from any =para block. Let's look at the file journal.pod6.
=begin pod
=TITLE This is a journal

I write down my thoughts here, but I only want to share a few

=for para :pubdate('2022-07-04 14:00')
Lorem Ipsum is simply dummy text of the printing and typesetting industry.
Lorem Ipsum has been the industry's standard dummy text ever since the 1500s, ...

=for para :pubdate('2022-08-05 14:00')
It is a long established fact that a reader will be distracted by the readable content of a page when looking at its layout.
....
As you can see, journal.pod6 can be a diary, some entries of which can be published in a blog. But journal.pod6 remains unpublished: there is no attribute pubdate in =pod section.
Other features
Linking pages
Let's first create a link to the info page.
For this we use the L<> formatting code:
Please check L<About page|file:./about.pod6>
This link between files becomes a web link on the website. Links to files are converted to links between web pages when they are published.
It be rendered as:
<a href="/about">About</a>
Link to file with blog post:
This is a link to L<blog-post.pod6| B<file:./blog-post.pod6>>
converted to :
<p>This is a link to <a href="/2022/8/6/2/blog-post">blog-post.pod6</a></p>
React support
It is possible to integrate Pod with React components.
We'll show you how to add the Contents of blog component to the page:
# Here we import the component Contents from the library
=useReact  {Contents} from '@Components/service'

# Somewhere on the page run this component with parameters
=begin React :component<Contents> :locale<en>
=end React
The content of the blog is rendered as follows:
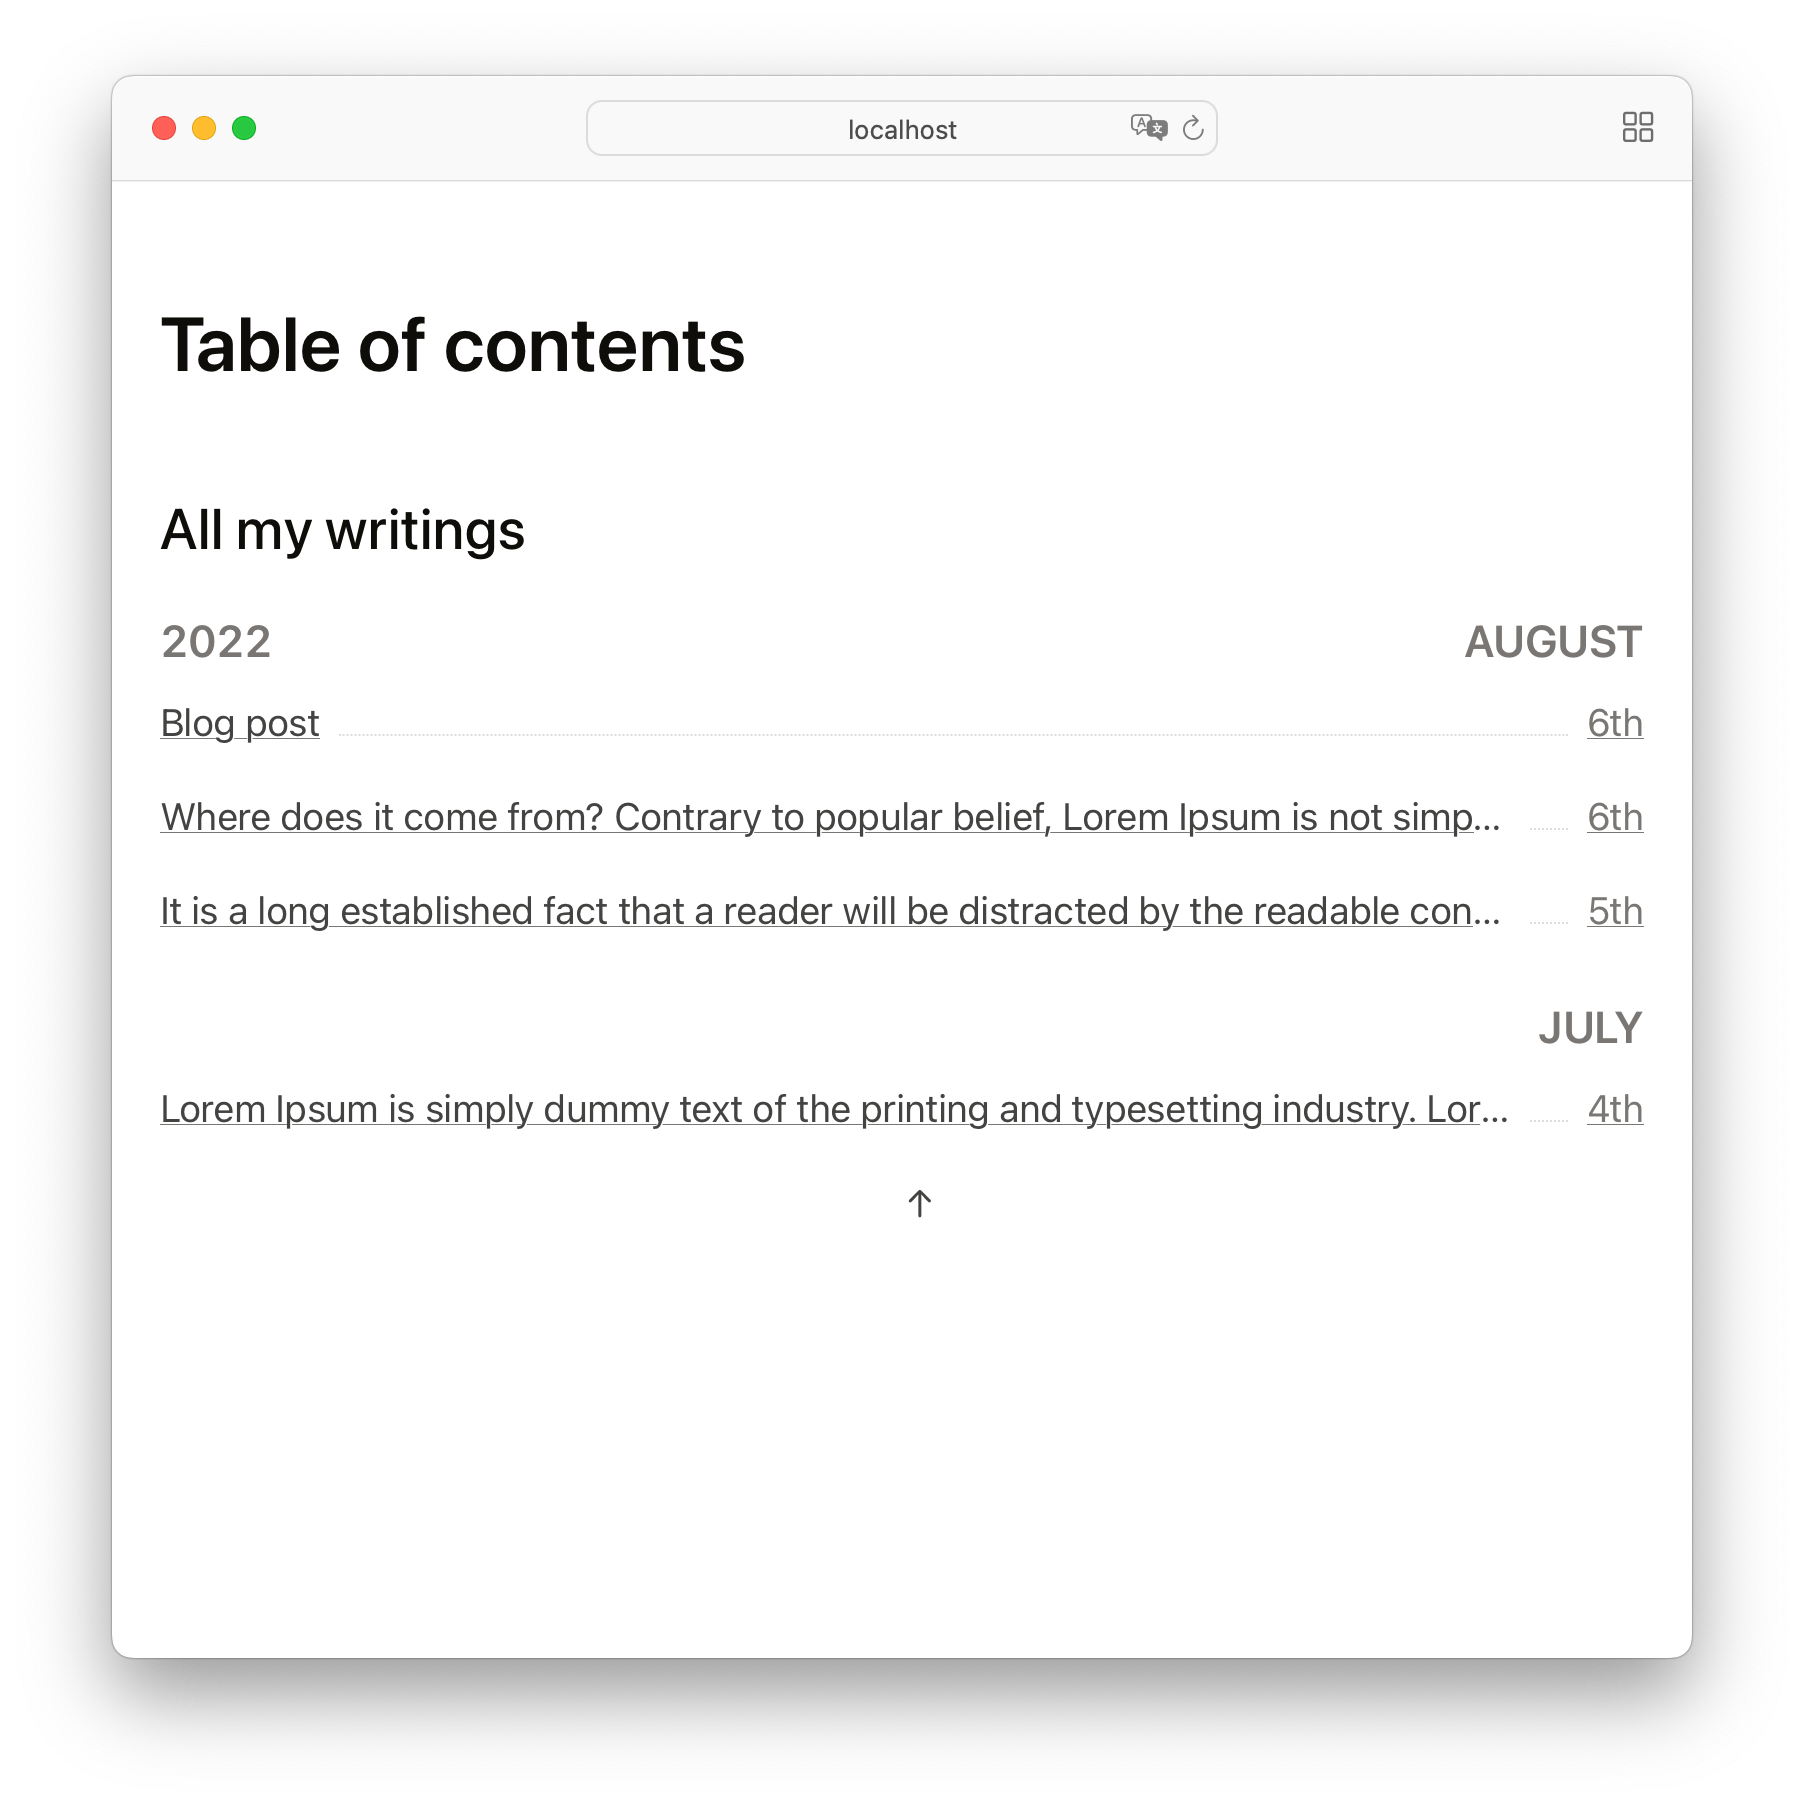
Use React component on page
All Podlite blocks are passed as childs to the React component. It is possible to mix the podlite markup with the logic.
For example, to create a multi-column layout, you pass each column as a Pod block to the React component. The following example shows the site menu:
=useReact {HeaderCol} from '@Components/service'
=begin React :component<HeaderCol> :id<menu>
=para L<About|file:./about.pod6>
=para L<Now|file:./now.pod6>
=para L<Table of contents|file:./content.pod6>
=para L<github | https://github.com/podlite>
=para L<twitter | https://twitter.com>
=end React
It showing on the following screen:
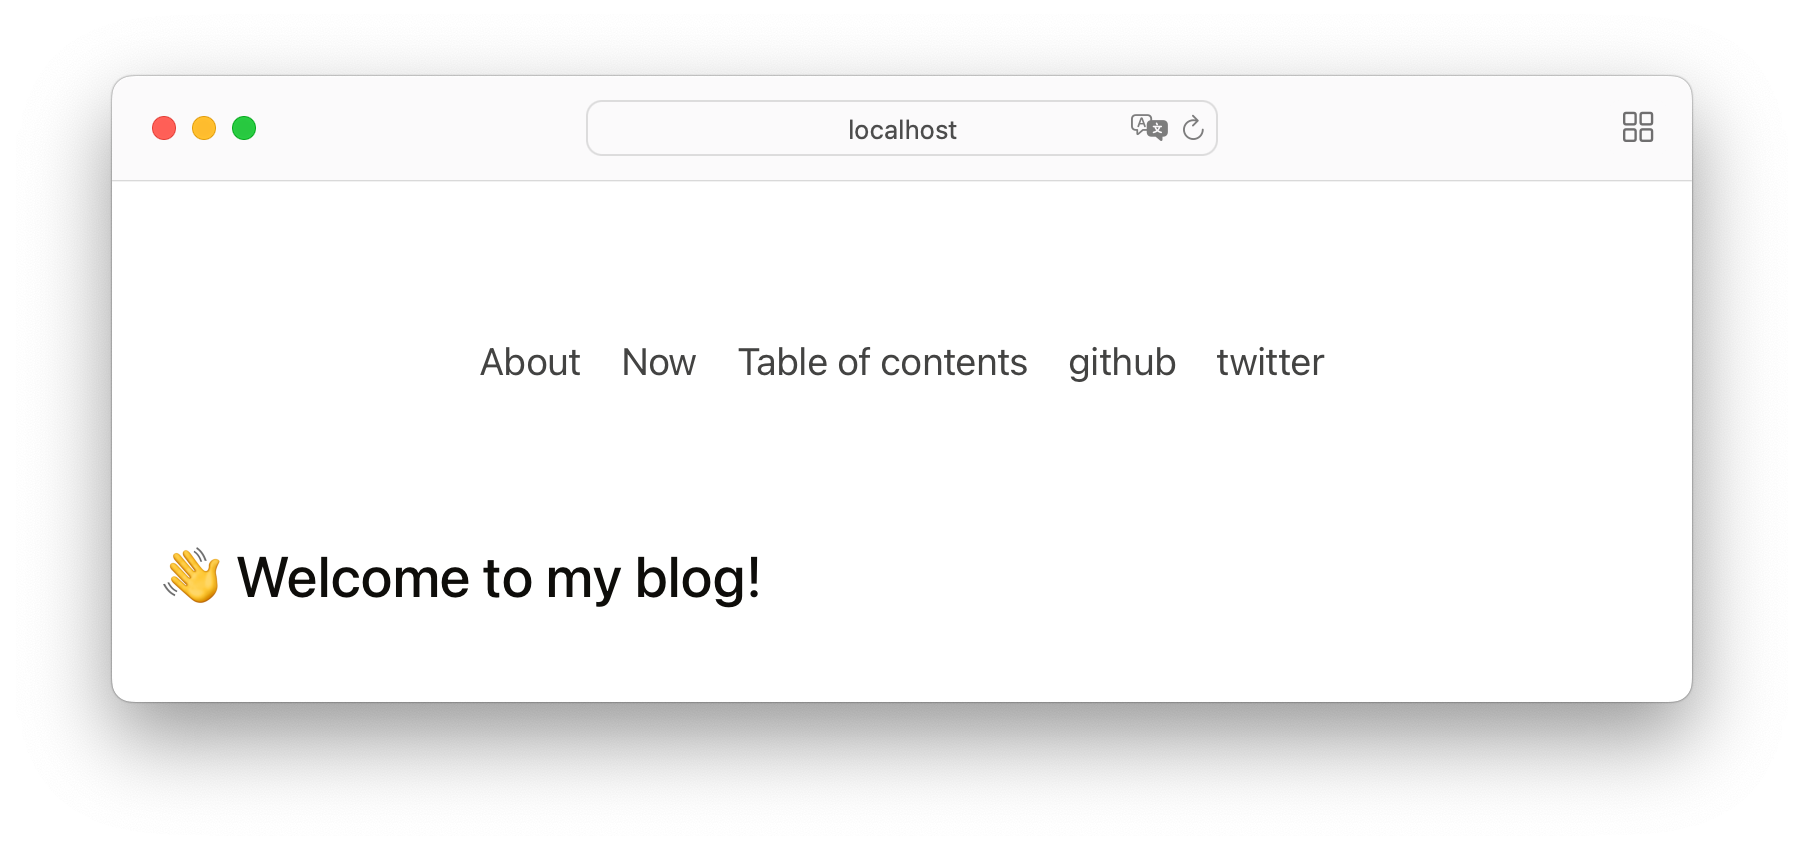
This is the menu rendered by the React component
RSS, Sitemap
Rss feed and sitemap are generated automatically.
Publish results
PodLite-web make zipped archive of result by the following command:
yarn export-zip > file.zip
You can unzip the file and transfer the contents to almost any hosting provider to make your website live.
Useful links
Podlite is a lightweight block-based markup language designed for flexibility and ease of use.
Online editor: https://pod6.in
Podlite - open-source desktop pod6 editor for Windows, Linux, and Mac.
I look forward to your feedback on the Podlite GitHub issue page . Or just write me to zag(at)cpan.org with your ideas!
Thank you!